Eyelash extensions have become increasingly popular in recent years, offering a glamorous and effortless way to enhance one's natural lashes. While professional eyelash extensions provide stunning results, they can be expensive and time-consuming. DIY eyelash extensions have emerged as an alternative, allowing individuals to achieve a similar look from the comfort of their own homes.
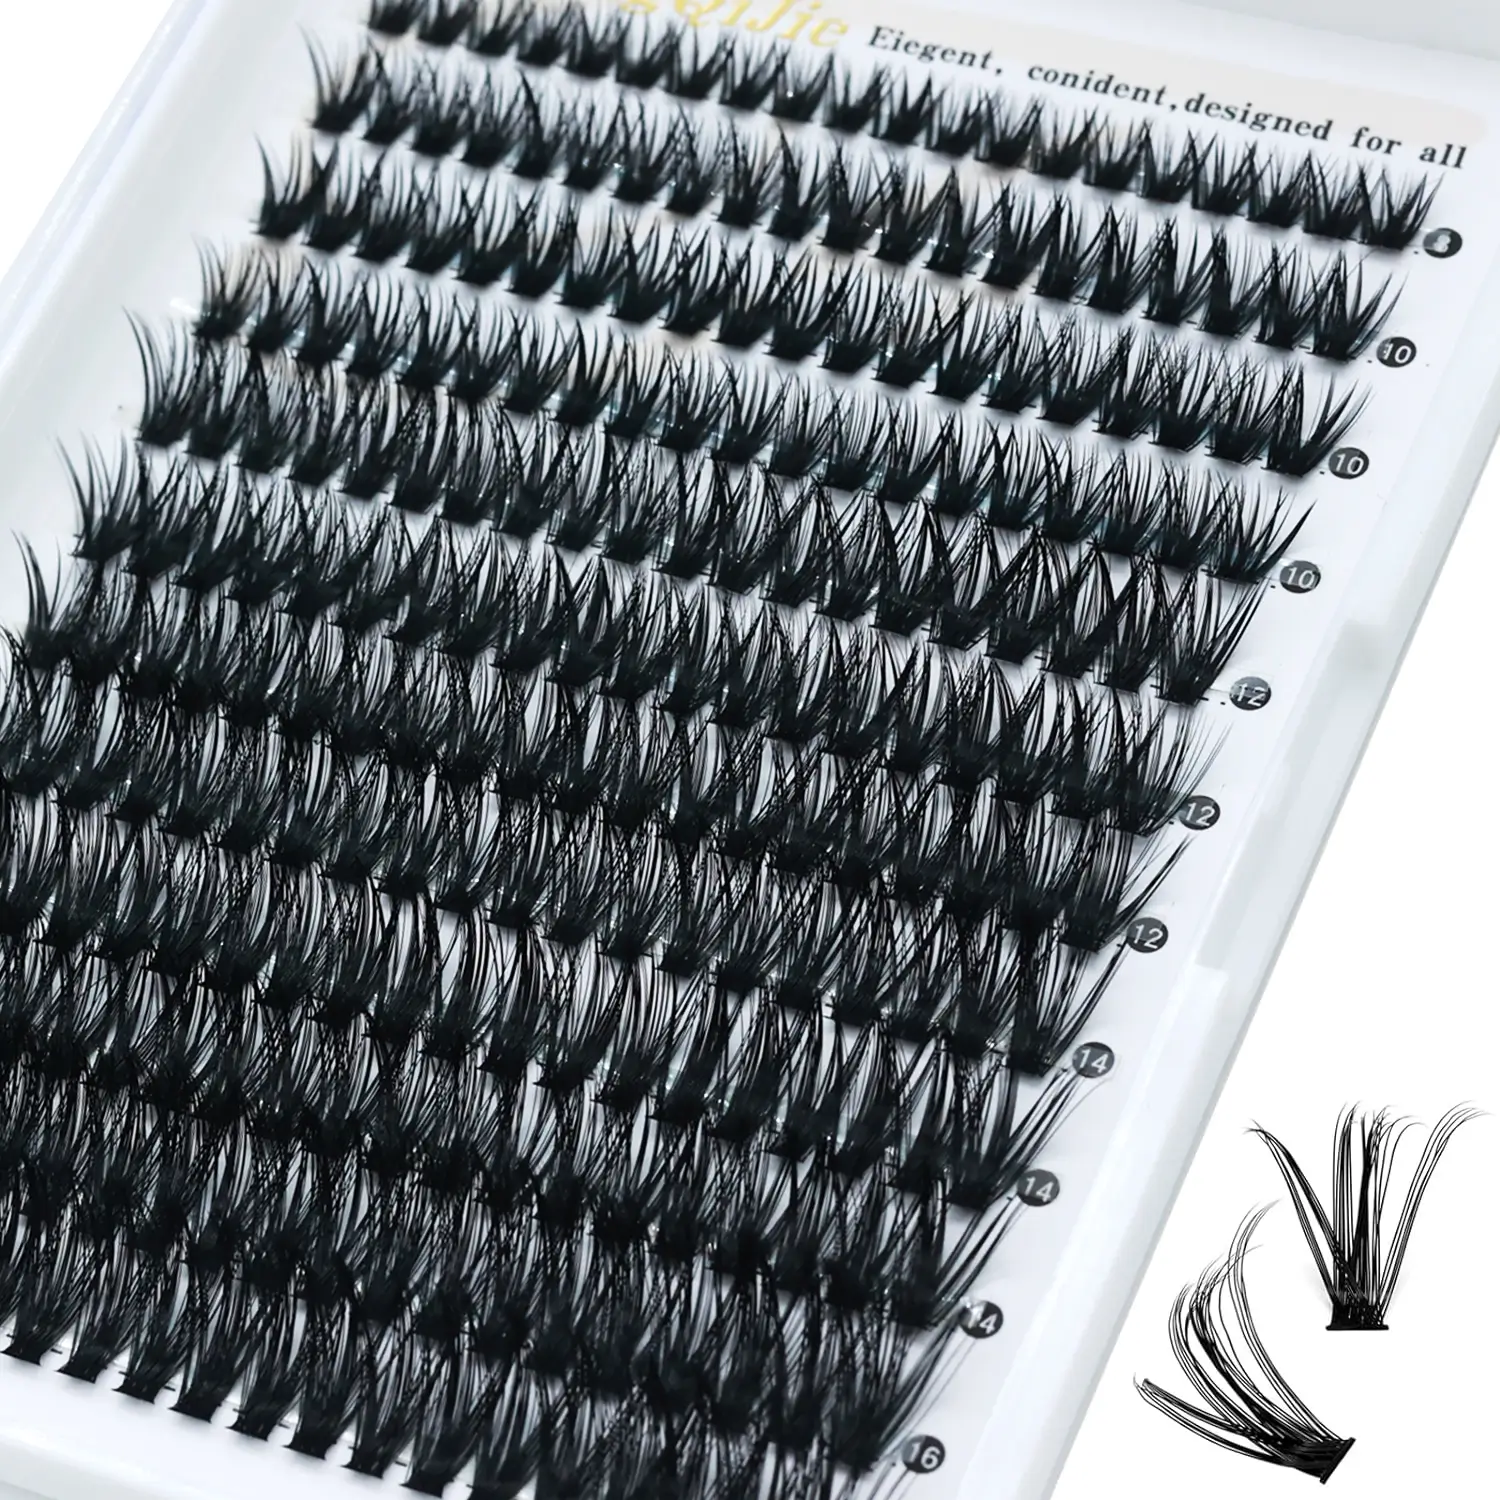
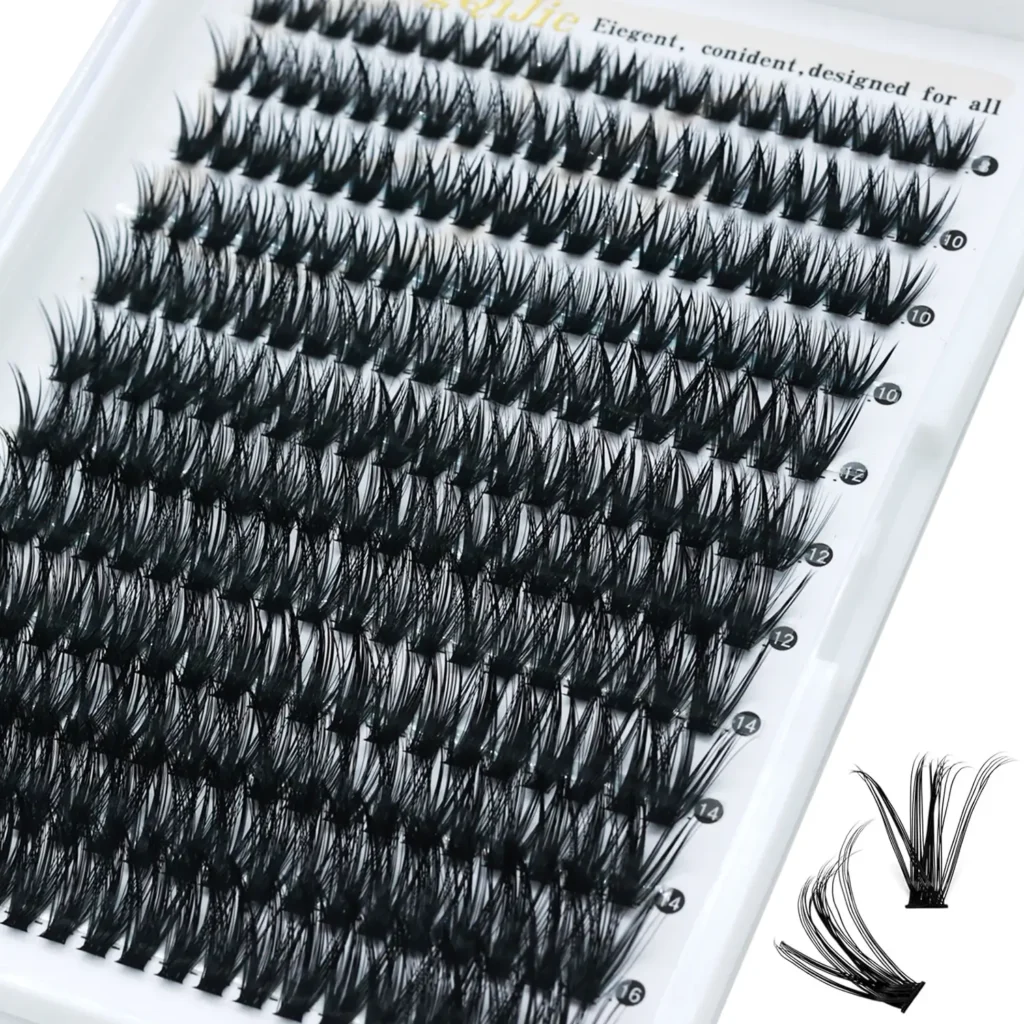
Achieve stunning volume with SinoLash Factory's 50D DIY Eyelash Extensions, made from premium Korean PBT.
Benefits of DIY Eyelash Extensions
DIY eyelash extensions offer several advantages:
Cost-effective: DIY extensions are significantly cheaper than professional applications, making them accessible to a wider audience.
Convenience: Applying DIY extensions at home eliminates the need for salon appointments, saving time and effort.
Customization: DIY extensions allow for greater customization, enabling individuals to choose the length, thickness, and style that best suits their preferences.
Learning experience: Applying DIY extensions can be a fun and rewarding experience, providing an opportunity to develop new skills.
Materials Required for DIY Eyelash Extensions
To apply DIY eyelash extensions, you will need the following materials:
Eyelash extensions: Choose extensions that match the length and thickness of your natural lashes.
Eyelash adhesive: Opt for a high-quality adhesive specifically designed for eyelash extensions.
Tweezers: Precision tweezers are essential for handling and applying the extensions.
Eyelash curler: Curling your natural lashes before applying extensions will help them blend seamlessly.
Mascara wand: A clean mascara wand can be used to separate and groom the extensions.
Mirror: A magnifying mirror will provide a clear view for precise application.
Step-by-Step Guide to Applying DIY Eyelash Extensions
Prepare your natural lashes: Remove any makeup or debris from your lashes and curl them to create a natural base.
Apply a thin layer of adhesive: Dip the base of an extension into the adhesive and apply a small amount to your natural lash.
Place the extension: Use tweezers to gently place the extension on your natural lash, as close to the base as possible.
Hold in place: Hold the extension in place for a few seconds to allow the adhesive to set.
Repeat: Continue applying extensions to the desired fullness and length.
Separate and groom: Use a mascara wand to separate and groom the extensions, ensuring they blend seamlessly with your natural lashes.
Tips for Applying DIY Eyelash Extensions
Start with a few extensions: Apply a few extensions at a time to avoid overwhelming your natural lashes.
Use a light hand: Apply the adhesive and extensions gently to prevent damage to your natural lashes.
Allow ample drying time: Let the adhesive dry completely before touching or manipulating the extensions.
Avoid touching your eyes: Keep your hands away from your eyes during the application process to prevent irritation.
Practice makes perfect: Don't be discouraged if your first attempts are not flawless. With practice, you will become more proficient.
Troubleshooting Common Issues with DIY Eyelash Extensions
Extensions falling off: Ensure you are using a high-quality adhesive and applying it correctly.
Irritation or redness: If you experience any irritation, remove the extensions immediately and consult a medical professional.
Extensions looking unnatural: Choose extensions that match the length and thickness of your natural lashes and apply them as close to the base as possible.
Extensions clumping together: Use a mascara wand to separate and groom the extensions after application.
Removal of DIY Eyelash Extensions
To remove DIY eyelash extensions, follow these steps:
Soak a cotton ball: Soak a cotton ball in an oil-based makeup remover or a specific eyelash extension remover.
Apply to extensions: Gently press the cotton ball against the extensions for a few minutes to dissolve the adhesive.
Gently remove: Use tweezers to gently remove the extensions from your natural lashes.
Cleanse your lashes: Wash your lashes with a gentle cleanser to remove any remaining adhesive or makeup.
Safety Precautions for DIY Eyelash Extensions
Avoid using expired products: Always check the expiration dates of your adhesive and extensions before use.
Do not share materials: Avoid sharing tweezers or other tools with others to prevent the spread of bacteria.
Keep your eyes closed: Keep your eyes closed during the application and removal process to prevent irritation.
Seek professional help if needed: If you experience any discomfort or complications, consult a medical professional or a licensed eyelash technician.
Comparison of DIY vs. Professional Eyelash Extensions
Feature
Przedłużanie rzęs DIY
Professional Eyelash Extensions
Cost
Significantly cheaper
More expensive
Convenience
Can be applied at home
Requires salon appointments
Personalizacja
Allows for greater customization
Limited customization options
Skill level
Requires practice and patience
Requires specialized training and experience
Results
Can achieve similar results to professional extensions
Typically more consistent and long-lasting
Pros and Cons of DIY Eyelash Extensions
Pros:
Cost-effective
Convenient
Customizable
Learning experience
Cons:
Requires practice and patience
Can be time-consuming
Potential for irritation or damage if not applied correctly
Results may not be as consistent or long-lasting as professional extensions
Conclusion: Is DIY Eyelash Extension Right for You?
Whether DIY eyelash extensions are right for you depends on your individual needs and preferences. If you are looking for a cost-effective and convenient way to enhance your lashes, DIY extensions can be a viable option. However, if you prioritize professional results and long-lasting wear, professional eyelash extensions may be a better choice.
 English