In the realm of beauty, eyelashes hold a captivating allure, framing the eyes and enhancing their expressive power. While professional eyelash extensions offer a glamorous solution, DIY eyelash extensions empower individuals to achieve stunning lashes from the comfort of their own homes. This comprehensive guide will delve into the intricacies of DIY eyelash extensions, providing a step-by-step roadmap to achieving beautiful, voluminous lashes.
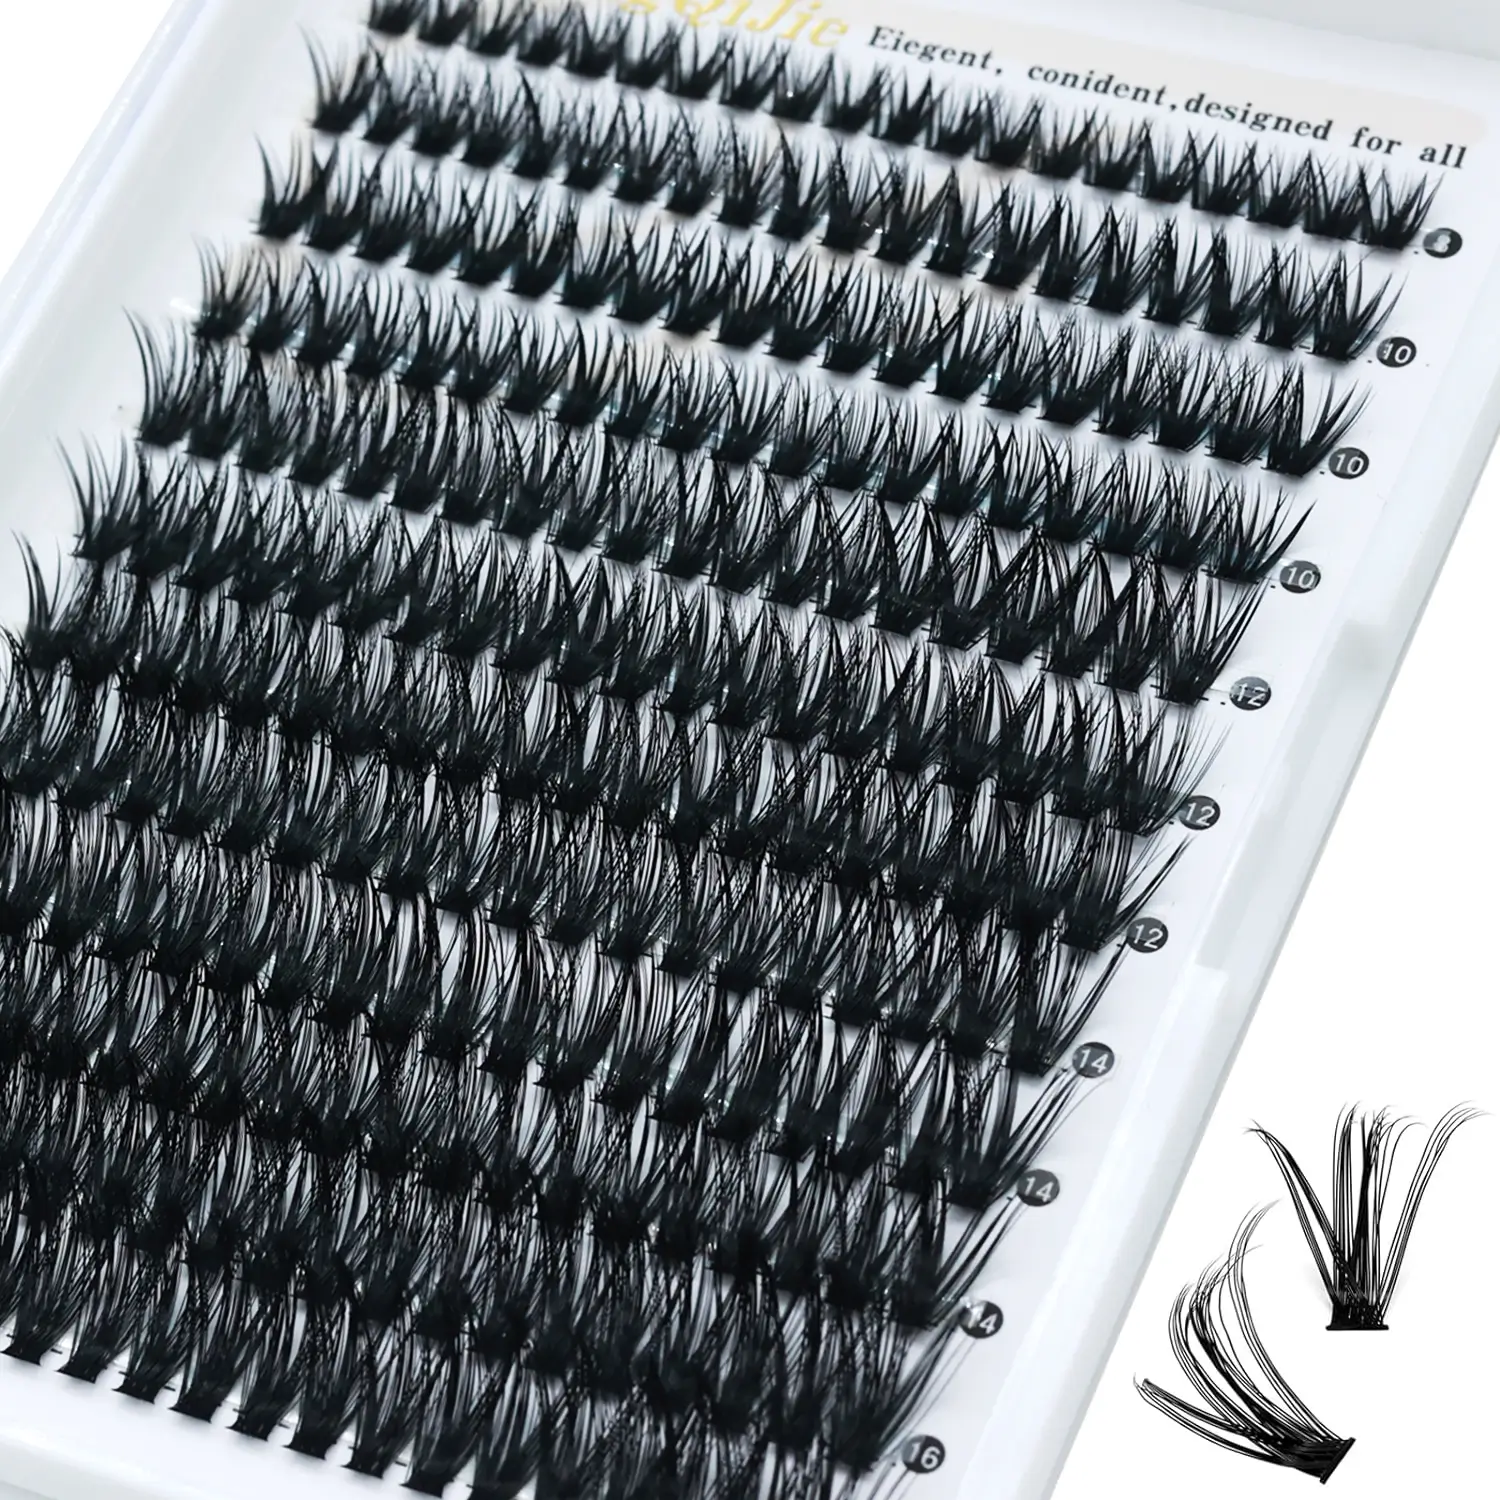
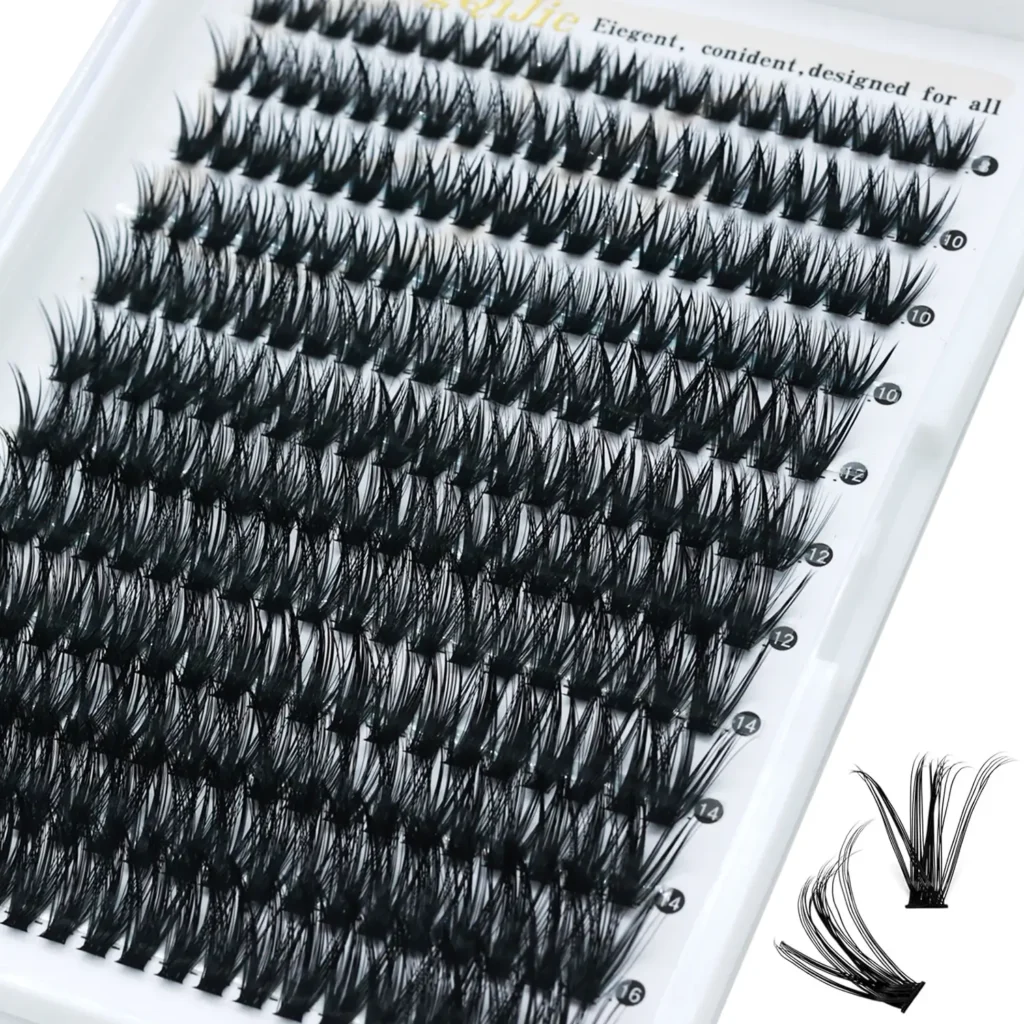
Achieve stunning volume with SinoLash Factory's 50D DIY Eyelash Extensions, made from premium Korean PBT.
Materials Required for DIY Eyelash Extensions
Gathering the Essentials
Embarking on a DIY eyelash extension journey requires a carefully curated arsenal of tools and materials. Essential items include:
Eyelash extensions: Choose high-quality extensions that match the length, curl, and thickness of your natural lashes.
Eyelash adhesive: Opt for a strong, yet gentle adhesive specifically designed for eyelash extensions.
Tweezers: Invest in precision tweezers with fine tips for precise application and manipulation of the extensions.
Microfiber brushes: These delicate brushes aid in separating and combing the lashes, ensuring a natural-looking finish.
Eyelash curler: Enhance the curl of your natural lashes before applying the extensions for a more dramatic effect.
Scissors: Sharp, fine-tipped scissors are essential for trimming and shaping the extensions.
Sealer: A clear sealant helps protect the extensions and prolong their lifespan.
Eye pads: These pads protect the lower lashes during the application process.
Preparing Your Natural Lashes
Creating a Flawless Canvas
Before applying the eyelash extensions, it is crucial to prepare your natural lashes to ensure optimal adhesion and a long-lasting result. Follow these steps:
Cleanse your lashes: Remove any makeup or debris from your lashes using a gentle cleanser.
Curl your lashes: Use an eyelash curler to enhance the natural curl of your lashes, creating a base for the extensions.
Separate your lashes: Gently brush through your lashes with a microfiber brush to separate any clumps and prepare them for the extensions.
Applying the Eyelash Extensions
Precision and Patience
The application process requires meticulous attention to detail and a steady hand. Here's how to apply the extensions:
Dip the extension in adhesive: Use tweezers to gently dip the base of an extension into the adhesive.
Place the extension: Carefully place the extension as close to the base of your natural lash as possible, without touching the skin.
Hold in place: Hold the extension in place for a few seconds to allow the adhesive to set.
Repeat: Continue applying extensions to each natural lash, working from the outer corner towards the inner corner.
Trimming and Shaping the Eyelash Extensions
Refining the Look
Once all the extensions are applied, it's time to refine their appearance:
Trim the extensions: Use scissors to trim any excess length from the extensions, ensuring they blend seamlessly with your natural lashes.
Shape the extensions: Gently brush through the extensions with a microfiber brush to shape them and create a natural-looking curve.
Sealing the Eyelash Extensions
Enhancing Longevity
To protect the extensions and extend their lifespan, apply a clear sealant:
Apply the sealant: Use a fine-tipped brush to apply a thin layer of sealant along the base of the extensions.
Allow to dry: Let the sealant dry completely before touching or brushing your lashes.
Removing DIY Eyelash Extensions
Safe and Effective Removal
When it's time to remove the extensions, follow these steps:
Use a remover: Apply a professional eyelash extension remover to the base of the extensions.
Wait for the adhesive to dissolve: Allow the remover to sit for a few minutes to dissolve the adhesive.
Gently remove the extensions: Use tweezers to gently remove the extensions, starting from the outer corner.
Cleanse your lashes: Once all the extensions are removed, cleanse your lashes with a gentle cleanser to remove any remaining adhesive.
Tips for Successful DIY Eyelash Extensions
Mastering the Technique
Practice on a mannequin: Before applying extensions to your own lashes, practice on a mannequin or a friend to gain confidence.
Use a mirror with magnification: A magnifying mirror provides a clear view of your lashes, ensuring precise application.
Take your time: Applying eyelash extensions is a time-consuming process. Allow ample time to complete the task without rushing.
Don't overload your lashes: Avoid applying too many extensions to each natural lash, as this can weigh them down and damage them.
Keep your lashes clean: Regularly cleanse your lashes with a gentle cleanser to prevent buildup and infection.
Troubleshooting Common Issues with DIY Eyelash Extensions
Resolving Challenges
Extensions falling off: Ensure the adhesive is applied correctly and that the extensions are placed close to the base of your natural lashes.
Irritation or redness: If you experience any irritation or redness, remove the extensions immediately and consult a medical professional.
Extensions looking unnatural: Trim and shape the extensions to blend seamlessly with your natural lashes.
Extensions clumping together: Use a microfiber brush to separate the extensions and prevent clumping.
Safety Precautions for DIY Eyelash Extensions
Prioritizing Well-being
Avoid contact with eyes: Keep the adhesive and extensions away from your eyes.
Use hypoallergenic products: Choose products that are specifically designed for eyelash extensions and are hypoallergenic to minimize the risk of allergic reactions.
Follow instructions carefully: Read and follow the instructions for the adhesive and extensions carefully to ensure safe and effective application.
Seek professional help if needed: If you encounter any difficulties or experience any adverse reactions, do not hesitate to seek professional help from a licensed cosmetologist or dermatologist.
Benefits of DIY Eyelash Extensions
Enhancing Beauty and Confidence
Cost-effective: DIY eyelash extensions offer a more affordable alternative to professional extensions.
Convenience: You can apply and remove the extensions in the comfort of your own home, saving time and effort.
Customization: DIY extensions allow you to customize the length, curl, and thickness of your lashes to suit your personal preferences.
Confidence boost: Beautiful, voluminous lashes can enhance your confidence and make you feel more attractive.
Conclusion: Achieving Beautiful Lashes with DIY Eyelash Extensions
DIY eyelash extensions empower individuals to achieve stunning, voluminous lashes without the need for professional services. By following the steps outlined in this comprehensive guide, you can master the technique and enjoy the benefits of beautiful lashes from the comfort of your own home. Remember to prioritize safety, practice patience, and embrace the transformative power of DIY eyelash extensions.
 English